Taking photos (still images)
-
-
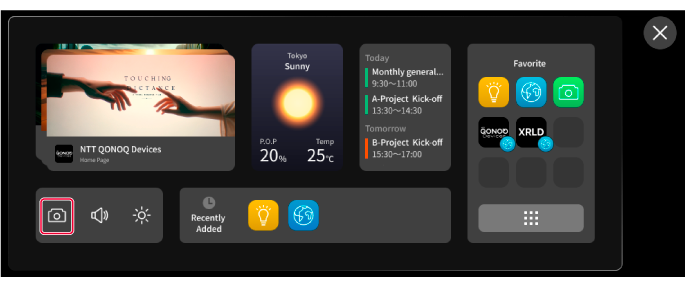
Tap the Camera icon in Main Launcher.
-
The shooting screen for photos (still images) appears.
Note
When you launch the camera feature for the first time, a confirmation dialog requesting the access permission for your smartphone appears.
Make sure to grant your smartphone the access permission. You cannot use the camera feature of this product if you do not grant the access permission. For details, refer to the manual of your smartphone.
Tip
When multiple windows overlap, the ray (beam) may penetrate the Camera icon. In that case, point the ray (beam) at the outside of the screen once and then try that again.
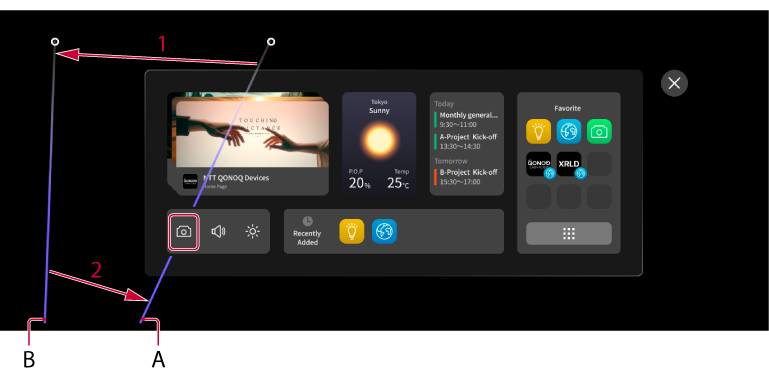
A: The ray (beam) penetrates the Camera icon.
B: Move the ray (beam) off the screen, then point it back at the desired icon.
-
-
-
Point the camera at the subject.
-
-
-
-
Tap the shooting button.
-

-
The shutter sound is produced and a photo (still image) is taken.
-
A taken photo (still image) is saved in the internal memory (internal storage) of your smartphone.
Tip
You can confirm the taken photos (still images) on your smartphone.
-
-
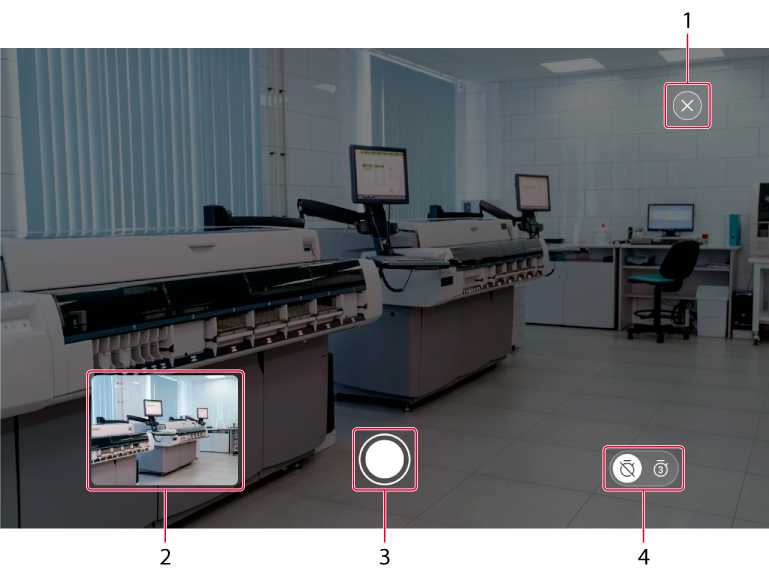
Overview of the photo (still image) shooting screen
|
No. |
Item/Icon name |
Description |
|---|---|---|
|
1 |
Exit |
Exits the camera feature. |
|
2 |
Preview/Thumbnail |
Displays a preview before taking a photo. After taking a photo, a thumbnail of a taken photo (still image) appears for approximately 3 seconds. |
|
3 |
Shooting button |
Takes a photo (still image). |
|
4 |
Self-timer |
Enables the self-timer (for approximately 3 seconds) or disenable the self-timer. |
Tip
You can exit the camera feature by tapping the Main Launcher display button on the control screen of the MiRZA app.